These have become a favorite of our family and friends. They were introduced to me about 8 years ago. The recipe came out of a magazine, but I can't, for the life of me, remember what that magazine was! The original recipe was for white chocolate covering. Although I've also made them milk chocolate as well. Both are very good!
You know how when you add sugar to some sliced strawberries and stick them in the fridge overnight, they make syrup and are yummy on shortcake? Well, it's sort of the same idea. You wrap Maraschino Cherries in a powdered sugar concoction and then seal that inside of chocolate, while the sugar encourages a syrup to form around the cherry. I honestly think they taste better at room temperature. Especially after they've been sitting out for a couple of days. However, I usually keep them refrigerated or even frozen just so I don't eat so many! Well, and so that I can keep them long enough to give them away.
Without further ado, here we go!
 |
| Ingredients: powdered sugar, chocolate, baking cocoa, cherries, butter, vanilla and almond extracts. |
 |
| Soften the butter. I stuck mine in the micro for 30 seconds just cause it was straight from the fridge. Even better is to let it sit out to room temp. |
 |
| Measure out your sugar, cocoa, and vanilla. |
 |
| Drain the cherries and lay them on a paper towel. Gently pat them dry. Mix up your powdered sugar concoction. |
 |
| Wash your hands well. Dry them, then add some coconut oil to them. Take a teaspoon or so of your sugar mix and roll it up, then pat it out flat on your hand. |
 |
| Put one cherry inside then roll the sugar mix around it. |
 |
 |
| Then roll it like a meatball. |
 |
| Set it on a tray or cookie sheet covered in wax paper. |
Once you get all of your cherries rolled in chocolate and sugar, you'll want to take a break. Stick your tray in the fridge for at least a couple of hours to let the sugar and butter harden up. I usually even put them in the freezer for a few minutes before I start dipping them in the chocolate. So, take a break and clean up your mess. You've got a minimum of 2 hours before the next step. This can even stay in the fridge overnight and resumed the next morning if you'd like.
 |
| Put your chocolate in a bowl with some coconut oil and a dash of almond extract. |
 |
| Microwave for 1 minute. Stir, then add 15-30 seconds til it's melted, stirring often until you've got it nice and runny. |
 |
| Stick a toothpick in 1 very cold cherry ball. Roll it in the chocolate, drop your cherry back on the tray, then use a little dab of chocolate on the toothpick to cover up the hole that it made in the cherry. |
Lick the toothpick, then get another one for the next cherry. I, wisely, did not take a picture of my pile of dirty toothpicks. :)
Once your cherries are all dipped, stick them in the fridge or freezer for a few minutes.
In the meantime, make your contrasting chocolate.
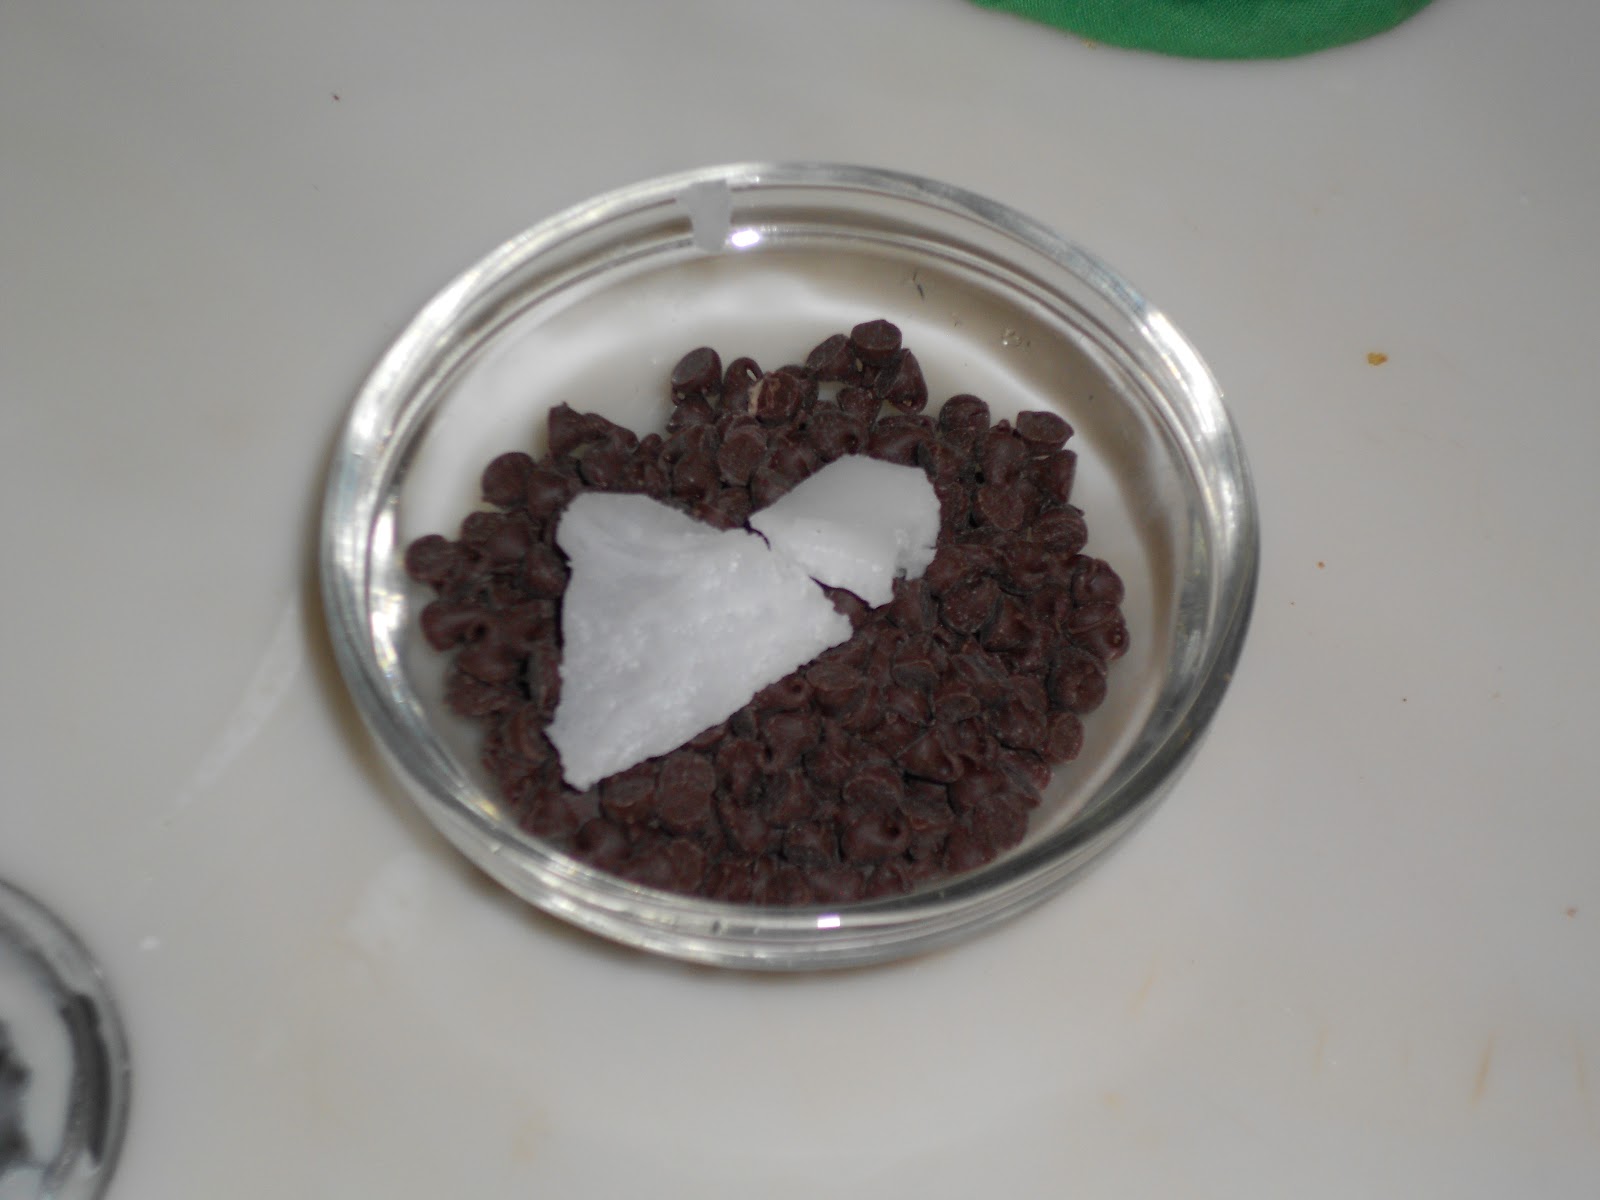 |
| About a 1/4 cup of mini chocolate chips and a bit of coconut oil. Microw'ed for about 30 seconds. |
 |
| You'll want it really drippy so you can fling it and drizzle it. |
 |
| The finished product! Let it chill to harden and wahlah! Eat any imperfect ones and give away the beauties! |
36-48 maraschino cherries with stems - well drained ( I used 2 small jars without stems)
1/4 c (1/2 stick) butter, softened
2 cups powdered sugar
1/4 cup baking Cocoa or dutch processed cocoa
1 to 2 tablespoons milk, divided (I didn't use any milk this time....but if it's too dry, then add a bit of milk)
1/2 teaspoon vanilla extract
1/4 teaspoon almond extract
white chip coating
chocolate chip drizzle
or vice versa
1.Cover tray with wax paper. lightly press cherries between layers of paper towels to remove excess moisture.
2.Beat butter, powdered sugar, cocoa (and 1 tablespoon milk if needed) in small bowl until well blended; stir in vanilla. if necessary, add remaining milk, one teaspoon at a time, until mixture will hold together but is not wet.
3.Mold scant teaspoon mixture around each cherry, covering completely; place on prepared tray. cover; refrigerate 3 hours or until firm.
4. Prepare white chip coating. holding each cherry by stem, dip into coating. place on tray; refrigerate until firm.
5. About one hour before serving, prepare chocolate chip drizzle; with tines of fork, drizzle randomly over candies. refrigerate until drizzle is firm. store in refrigerator.
White Chip Coating: place 1 2/3 cups (10 oz. pkg.) Hershey's premier white chips in small microwave-safe bowl; drizzle with 2 tablespoons coconut oil and almond extract. microwave at high (100%) 1 minute, stir. If necessary, microwave at high an additional 15 seconds at a time, stirring after each heating until chips are melted and mixture is smooth. If mixture thickens while coating, microwave at high 15 seconds; stir until smooth.
Chocolate Chip Drizzle: Place 1/4 cup Hershey's milk chocolate chips and 1/4 teaspoon oil, in another small microwave safe bowl. Microwave at high (100%) 30 seconds to 1 minute; stir until chips are melted and mixture is smooth.


