It's been awhile since I've updated and there have been many questions I often see repeated on the Natural Alternatives board in regards to curing tooth decay. I'll share our journey so that you can learn what we do, but it's not a one size fits all plan that will work for everyone.
First of all, get your hands on a copy of the book Cure Tooth Decay by Ramiel Nagel. Start implementing the things he talks about in how to properly prepare foods to boost nutrient density and prevent foods from blocking mineral absorption. This allows the body to maximize remineralizing and healing teeth. For a quick overview of the diet recommendations, you can also see my previous post where I laid out a brief description of what I'd learned from the book. See -
Curing Tooth Decay ~ Things I've learned that may have contributed to our plight
Our supplements
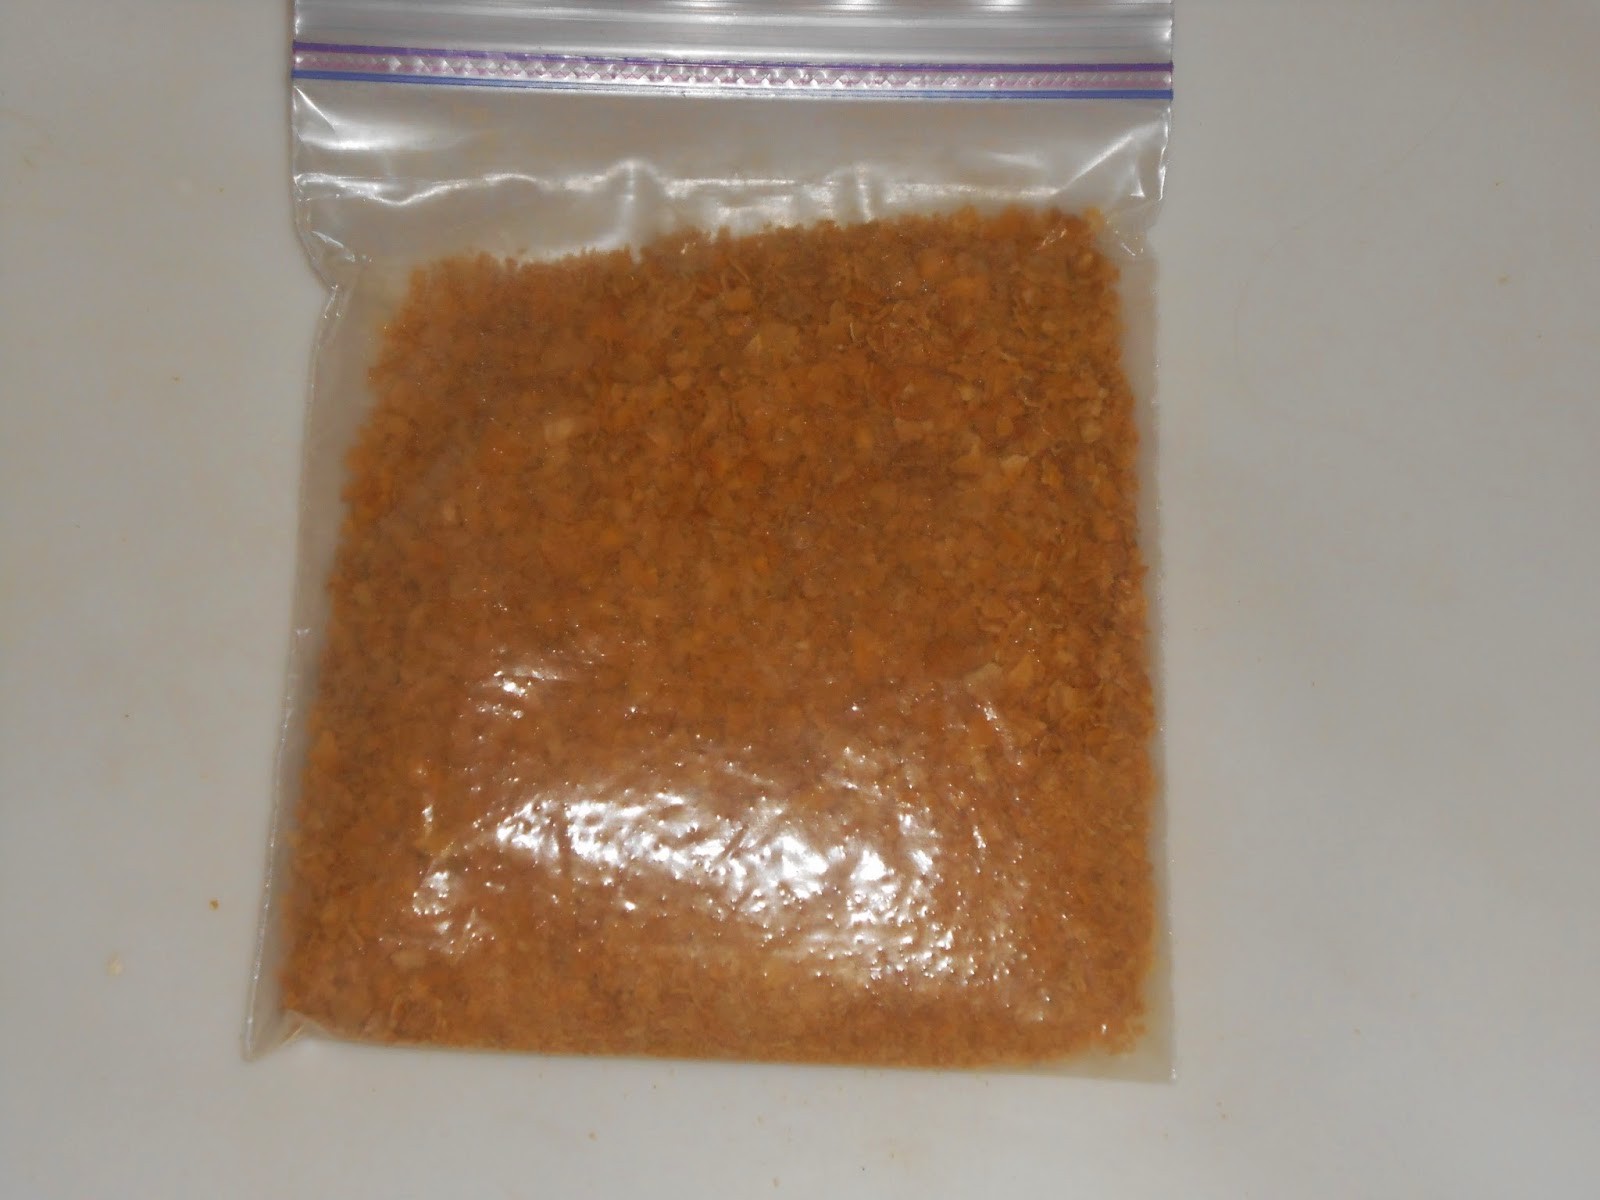
Fermented Cod Liver Oil and Butter Oil
Supplements that my 5 year old takes (the one with cavities) are Fermented Cod Liver Oil and Butter Oil by
Green Pasture's Products
.
There has been lots and lots of questions as to what flavor is the best or easiest to take. This is going to be different for everyone, however, here is our personal experience. The first time we ordered, we got the emulsified, "kid friendly" peppermint flavor fermented cod liver oil and unflavored butter oil. We ordered separately, not premixed. My kids DID NOT like this!!! The emulsified version would separate into an oil on the top part of the jar, and a thick goopy mess at the bottom of the jar. It was incredibly gross looking and even grosser for the kids to actually have to try to choke it down. We were grateful when it was gone and we could try something new.
The next time we ordered, I decided to try regular liquid. The reason I decided to do this was for cost purposes. With the regular liquid fermented cod liver oil, there are 118 servings for $43.99, in comparison to the emulsified which had only 64 servings for $38.99. BIG difference in price! We opted to try the orange flavor, and then we added butter pecan flavor butter oil. It was a success!
Rather than needing to get into the jars repeatedly, I just pull out equal servings of each fermented cod liver oil and butter oil and store it in a small 1/2 cup container with a lid. Like
these. The regular liquid fclo came with a syringe, so I pull up 1/2 tsp of the mixed oils and shoot it in her mouth and she chases it with raw milk. Twice a day is ideal, but sometimes I only remember once a day.
Cell Salts
Next, are cell salts. They are a homepathic remedy that can provide beneficial minerals to help support bones and tissues in the body. To learn more about cell salts and what each one specifically is good for, this is a great place to start. ~
Cell Salts PDF We have chosen to give #1 (Calc Fluor), #2 (Calc Phos), #8 (Mag Phos), #10 (Nat Phos), and #12 (Silica). We use Hylands brand and I order from
Vitacost or
Amazon (if you would like to receive a $10 refer a friend from Vitacost, please click on that link and we each get a coupon!) I give these 2-3 times a day as I can remember. And I go by the suggested dosage on the side of the bottle per age.
Vitamin D
Vitamin D is one of those things that just about everyone is deficient in. Kind of like just about everyone is low on magnesium as well. I also get the Vitamin D from
Vitacost. Now, I'm not really sure that the brand I got (
this one) is any better than the vitacost brand or not, but it was recommended by a friend as the best, so I got it. In spite of it being twice as expensive. It only takes 1 drop per day to get 2,000 iu, which is a sufficient amount for a daily dose for my 5 year old. You could also try this one and only give 1 drop instead of the recommended 2 drops for the same dosage and a cheaper price at
Amazon
.
Swishing and Toothpastes
I encourage xylitol swish 5-6 times a day (purchased from Vitacost or from the local health food store, this one is
gmo corn free). I do not encourage her to ingest it, but I do encourage her to swish and spit as soon as she wakes up, after breakfast/lunch/dinner, before bed, and any other time I think it fits in there. Xylitol stops the S. Mutants known to cause tooth decay. It kills it and prevents it from doing damage. Fore more information, simply google Xylitol for tooth decay, but
here's a link to get ya started. There are tons of articles out there. So, we dissolve 2 tablespoons into a full cup of hot water and wait til it cools. Set it in the bathroom next to the sink and have her rinse and spit. Even the 2 year old will do this.
I also encourage oil pulling with coconut oil, and alternating with colloidal silver swishing. I let her choose which she wants to do.
For toothpastes we alternate between using Branam's xylitol toothpaste and
homemade toothpaste. I use Black Walnut tincture, xylitol, coconut oil, bentonite clay, and a small amount of essential oils in the toothpaste.
And of course flossing. This is essential to get the food off those bad spots so it doesn't sit there and decay up against the teeth. So I do encourage flossing after every meal.
All in all, our routine is:
Wake up and brush and swish
Eat breakfast
floss, and swish
If I remember, remind her 20 minutes later to brush and/or swish again (because bacteria from food peaks 20 minutes after eating)
somewhere between breakfast and lunch do supplements
Eat lunch
floss and swish
try to remember to have her at LEAST swish again 20 minutes later
supplements again between lunch and dinner
dinner
floss and swish
try to remember to tell her again after 20 minutes
maybe one more snack before bed if we had an early dinner
floss, brush, and swish before bed.
Other additions through diet
Other things that we do are to get as much grass fed gelatin and bone broths into our diet as possible. I make
homemade yogurt and add some gelatin to it when the milk is warm before adding the starter so that it's slightly thicker. I only add 1/4 cup of Great Lakes grass fed gelatin to a gallon of milk. So it's not a huge amount, but it does change the thickness to be more like store bought yogurt. If you get too much, you will have
yogurt jello squares rather than anything that resembles actual yogurt. :) Added to the yogurt is a couple drops of liquid stevia extract and a bit of vanilla extract to taste.
Bone broths are used for soups, gravies, cooking vegetables, potatoes, the not very often (soaked and sprouted) beans or rice, and just about anywhere that water would normally be added in cooking I try to use bone broths instead.
Grains, sugars (even honey and fruits), cereal, oatmeal, etc are not a part of our normal diet any longer and we've learned to live without them. Now I personally, do not follow the diet recommendations as closely for myself because I don't have cavities, and I'm pregnant as well as nursing and have different dietary needs. One of my best hold over snacks in the middle of the night when I wake up starving to death is a handful of a few grapes and small square of cheese. Which brings me to again recommend the Cure Tooth Decay book. It helps you understand how to properly prepare foods like the beans, rice, etc, but also how to pair foods together to maximize nutrient absorption. Like adding healthy protein and fat to fruit. Serving cooked fruits like baked apples is better than raw. Topping beans with cheese and sour cream for instance.
Our progress
So how is it going and is there actually any progress? Well, now that the initial brutal diet changes are normal for us, it's going a whole lot better. Her decay has progressed slightly since first diagnosed 7 months ago, but after the first couple of months, it has not gotten any worse. I can't say that it has halted, because there are a couple of places that are still small brown spots, BUT, it hasn't gotten any worse! Which means we are holding steady and hopefully heading in the right direction. There are 3 spots that I am keeping an eye on regularly and checking to make sure it's not worse. All of the other places that were original concerns are now white and hardened and no longer active decay at all. So we've had SOME success, but not complete success....yet. :) She is not in any pain, there is no infection, no red gums, or abscesses or anything like that at all so we are comfortable to just watch and see what happens.
*Update as of 2/10/14 - - - Only *1* tooth remains to halt decay completely. You can SEE that it is on it's way. The other teeth have completely stopped decaying and hardened! So close!
HOWEVER!!! I do have an amazing story to share in regards to my 2 year old! I have been keeping a VERY close eye on all 4 of my kids teeth since the cavity diagnosis for the (now) 5 year old. One day, I noticed a spot on an upper molar of my 2 year old. I nearly cried. Though we were on the dietary stuff, she was not taking the supplements, and my husband and I were more lenient with her and would often share our own foods with her that our other kids didn't typically eat. For instance, sometimes I'd wake up on the morning and my husband was eating toast with peanut butter and sharing with her. He had been warned to not give this to our kids, ESPECIALLY the child with tooth issues. But when you have a cute 2 year old begging for your food who has no tooth problems, sometimes you give in.
I was so upset seeing this spot on the 2 year old's tooth. I looked at it several times throughout the day and was just feeling very defeated and devastated. I immediately started giving her the supplements and had to trick her to get her to take the fermented cod liver oil and butter oil. I don't give honey to my other kid because of it's affect on blood glucose and us working SO hard to try to get her teeth healed. We are very strict with the dietary stuff with her. But with the 2 year old, I really felt it was worth it to at least get the fclo/bo into her. So, I did half fclo/bo mixture, and an equal amount of honey. I shook it up on the syringe and then gave her her "honey" which she chased with raw milk. She loved it! Begged for more! So I gave this to her twice a day.
Three days later I took another peek into her mouth to look at her tooth again and was SHOCKED! I mean, I was absolutely floored by what I saw. Nothing. The spot was GONE!
Before starting supplements pic vs. 3 days later after doing supplements.
Of course there is skepticism. *I* was skeptical! How could that be? I KNOW I saw that there! I took a picture of it so I could monitor it and make sure it didn't get too bad! Someone else suggested maybe it was food or something, but no it was not! I brushed her teeth, I looked at it several times that day in near tears. Yet 3 days later it was GONE!
This is not typical as you can see from my story of my other child. But really, is there such a thing as a typical result? I'm not so sure.
The body is constantly working to heal and remineralize bones and teeth and when it's missing something, if that something is then given, it can repair! This will make total sense to anyone who has ever had a cut or scrape and cared for it, bandaged it up, and then removed the bandage a couple of days later to be amazed at how much it's healed! Particularly if any herbs like comfrey or plantain or other healing herbs are applied to help accelerate healing. It makes total sense when you look at it from that perspective.
My take away with this is that I believe we are on the right path for my 5 year old, but her diet deficiencies will take much longer to repair, as she had a much longer amount of time to get to the point she was before we started the healing procedures. As long as there is progress or stabilization, we will keep on this path. In fact I've since learned that some countries don't drill and fill baby teeth at all!
See here. Which is fascinating to me how much different other countries do things.
We are still learning. We don't have it all figured out, but I do feel as though we are headed in the right direction. I hope this post is helpful to some of you as you either consider this different approach, are beginning your own journey, or even if you've been on the journey and looking for a cohort in the battle for your child's teeth. Cause I get it. I truly understand the feeling of FIGHTING for your child's teeth and health apart from the normal dental recommendations. I get the anxiety you feel as you wonder....am I doing the right thing? As other people think you're crazy for not just going to the dentist and doing the normal thing. The feeling of frustration when trying to figure out what to feed your children that is healthy and good for them that they will actually WANT to eat! I get it. I really do. So I hope this post is helpful to others.
* This post has affiliate links. If you click on them and order a product, it will not change the price you pay, but will help me out a tiny bit. I thank you for helping out another momma to get the good stuff for our family!